Edit on Gitlab
Gitlab is the platform the manual is hosted on. It offers a web IDE, a web interface where you can edit and submit changes to the manual.
Opening a Chapter
To open a chapter in the web IDE:
Find where the tutorial is located in the Gitlab interface.
Navigate to the main repo.
Click on the folder source.
Find the chapter according to the hierarchy. A chapter ends with the extension
.rst.
Click on the chapter. You should be brought to a page that looks like this:
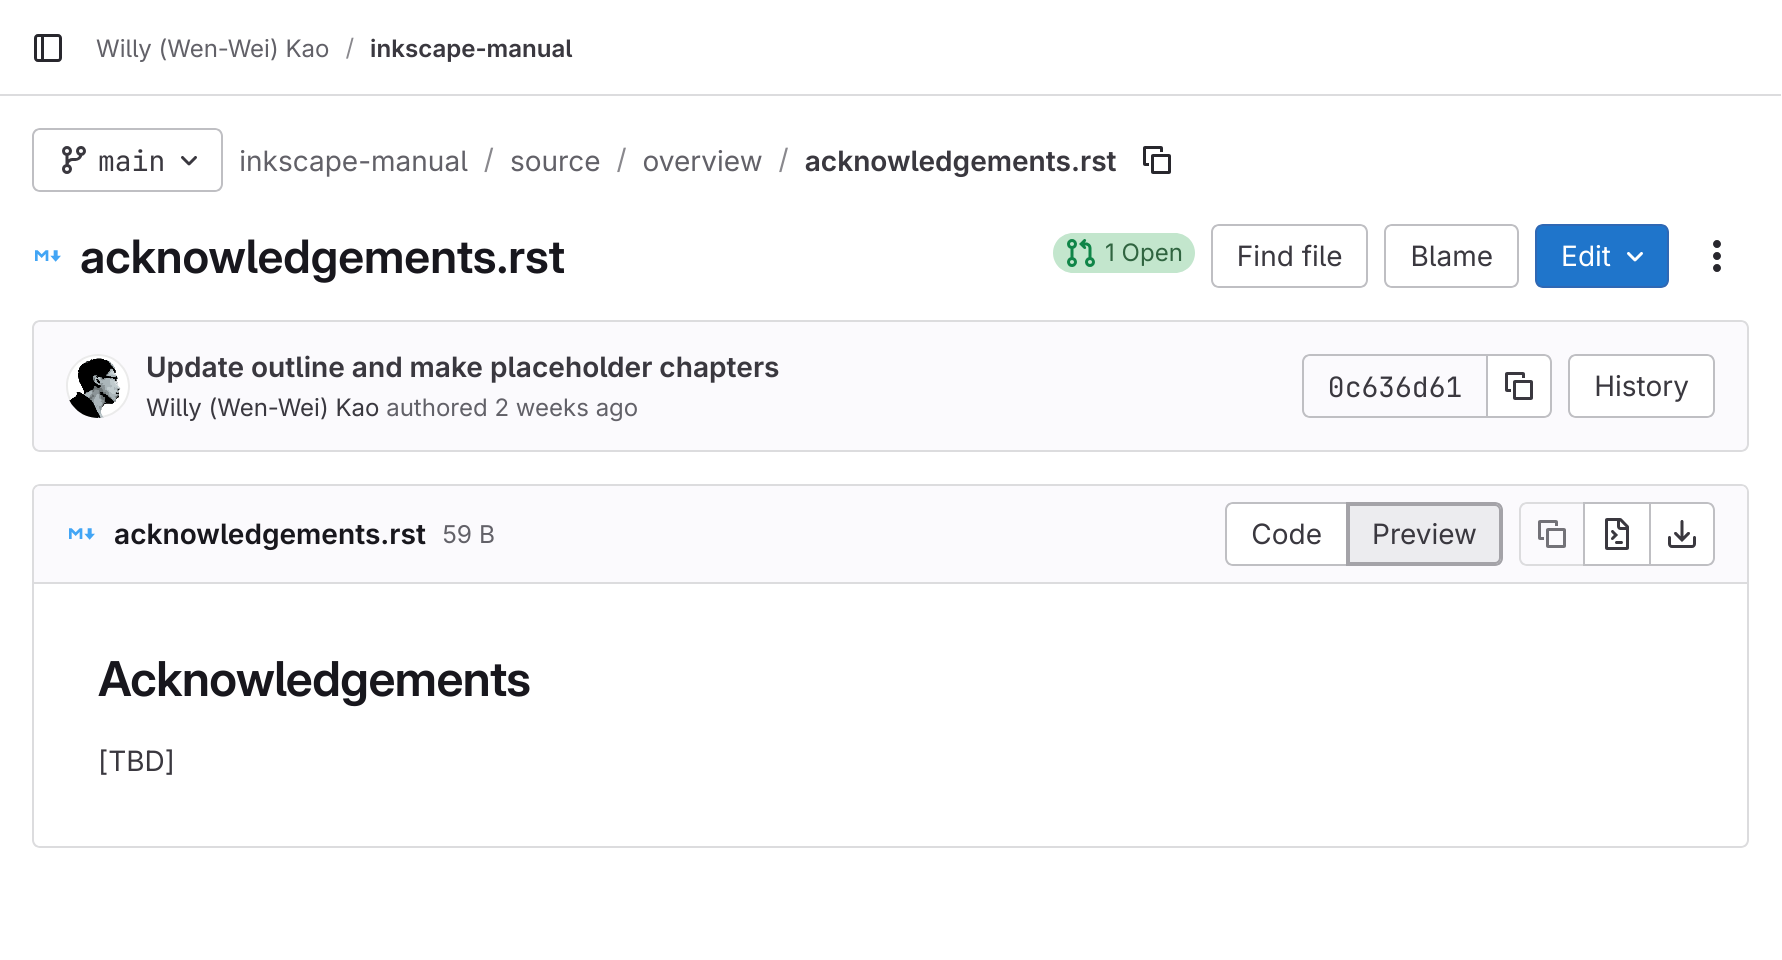
The details page of a chapter
Click on the top-right button labeled Edit.
Click on Open in Web IDE.
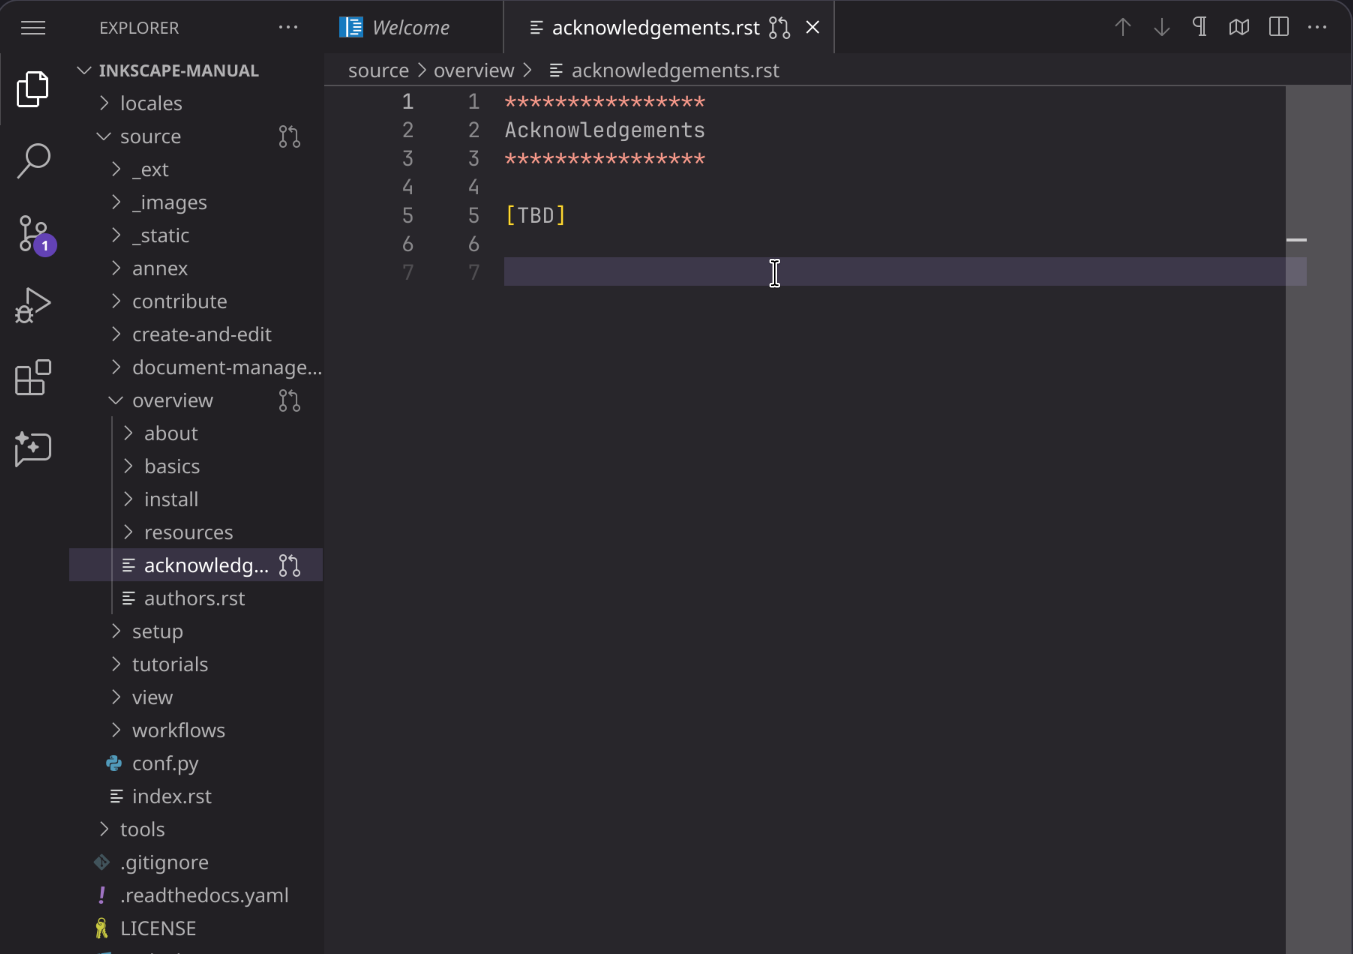
You should be brought to a web editing interface that looks like the following.

Gitlab Web IDE
Editing Chapters
This part should be the most straightforward. You can directly edit the file or other files in the left panel, and upload files by dragging them into the interface.
Submit Your Changes
To submit the files you have edited:
Switch to the source control tab, the third tab in the leftmost panel.
Click on the downwards arrow beside the Commit and push button.
Click on Create new branch and commit.
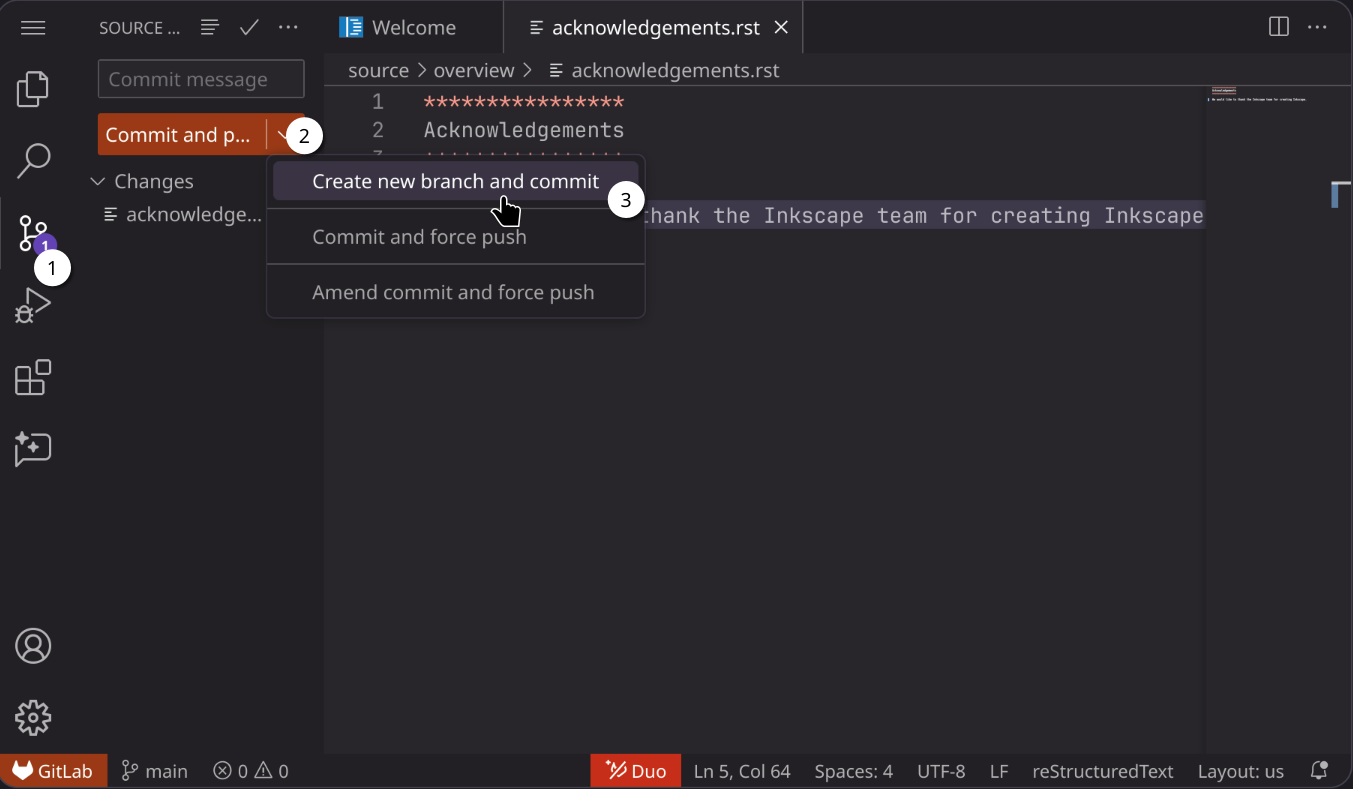
Creating a new branch
Enter a name for the branch. For example if you added info to the Acknowledgements chapter, you can enter
add-acksfor the branch name. Branch names should be hyphen-separated lowercase words.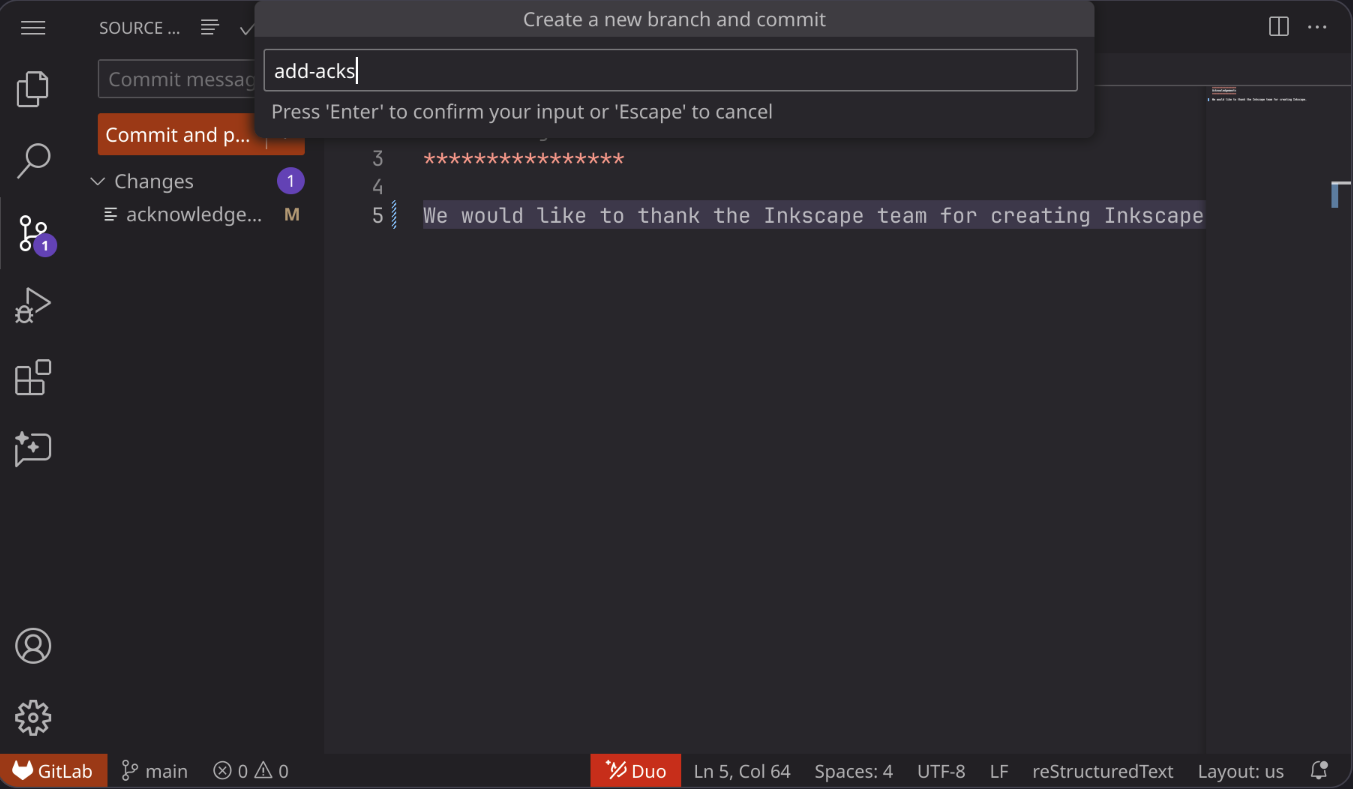
Entering a branch name
Press EnterReturn to commit.
After commiting the changes, click on the Create MR button at the bottom right.
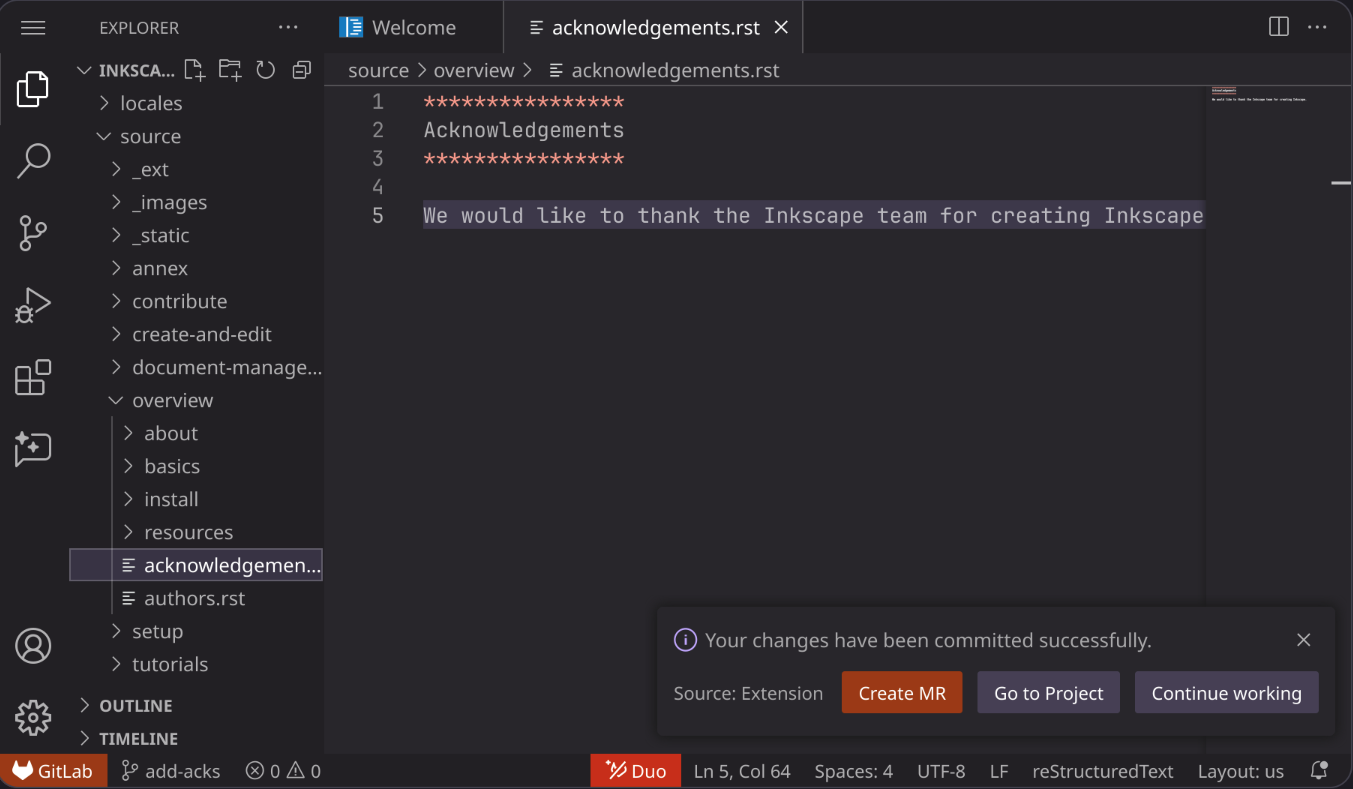
The screen after creating a branch
Edit the title and description to match what you have edited.
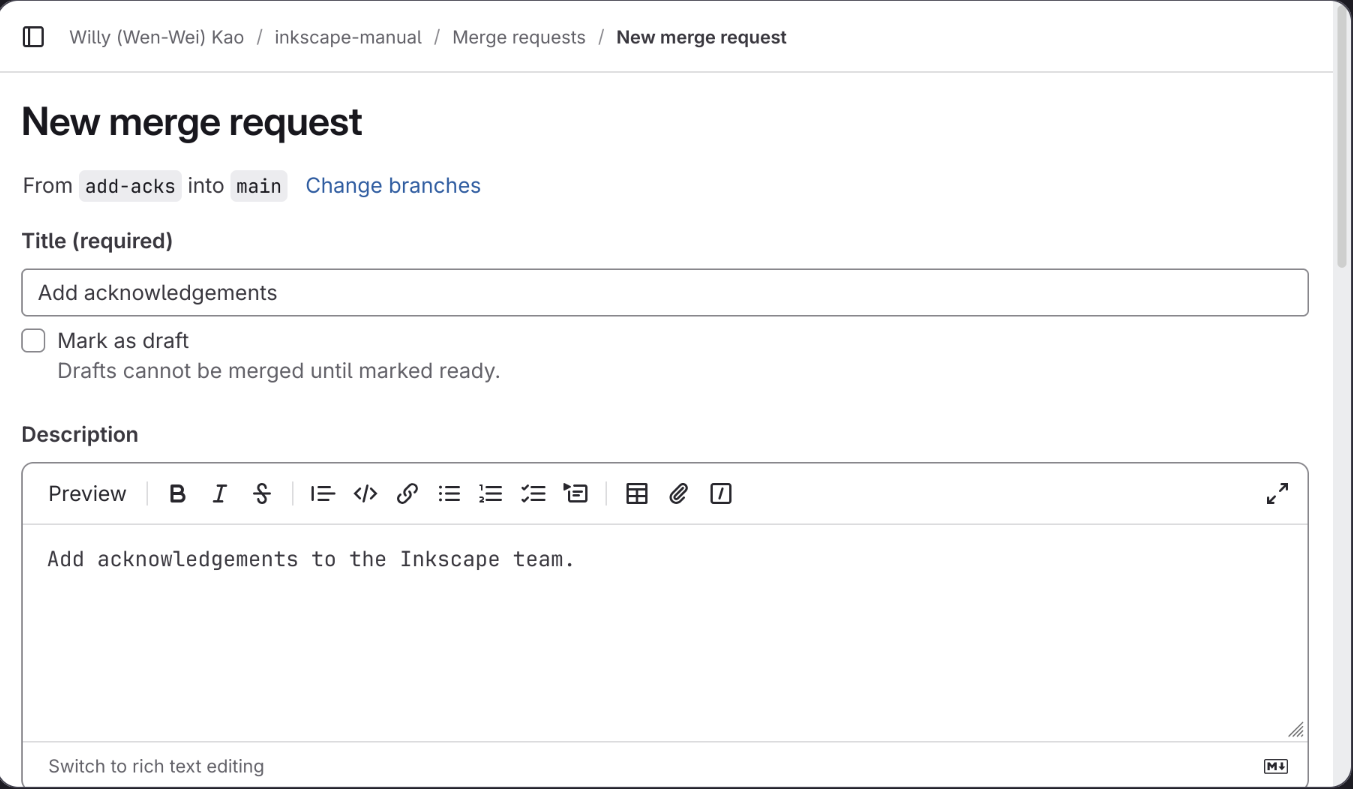
The Create merge request screen
Click on Create merge request.
Your changes should now be ready for review.
Editing Your Submission
After submitting your changes, you will be redirected to your Merge Request page. You can either bookmark the page, or find your submission in the Merge Requests page of the repo.
Others may comment on your merge request on what should be changed. If you want to change your submission to address the comments:
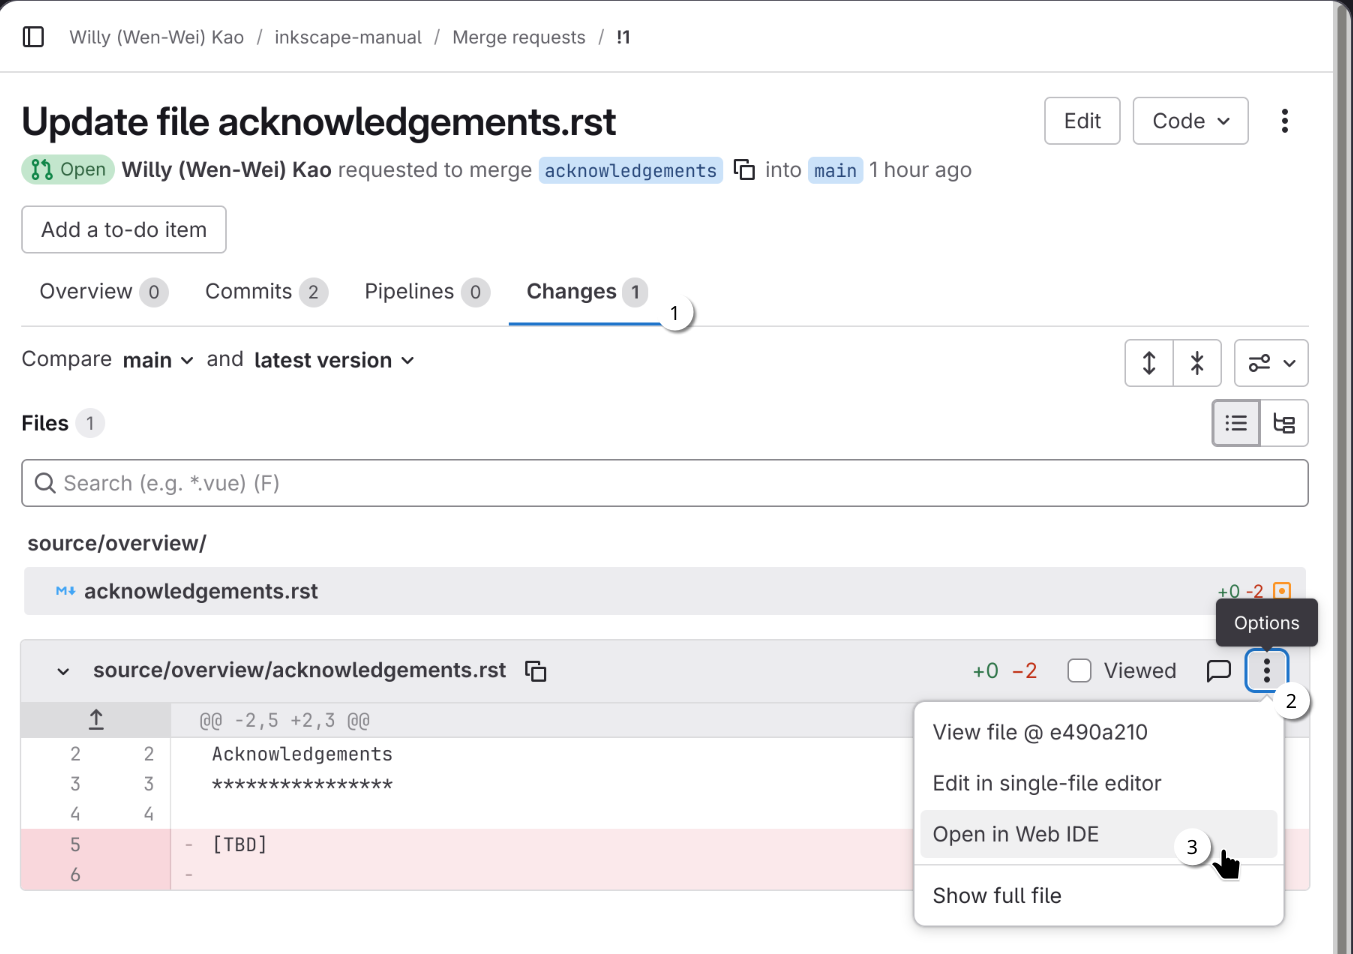
Switch to the Changes tab of your merge request.
Find the file you want to change, and click on the Options button (the three-dot icon at the top right of each file).
Click on Open in Web IDE.
First steps to open the file in a web IDE
After the IDE loads, you can make changes:
You can click on the red or green areas to revert changes.
Before
After

You can also directly type to amend the files.
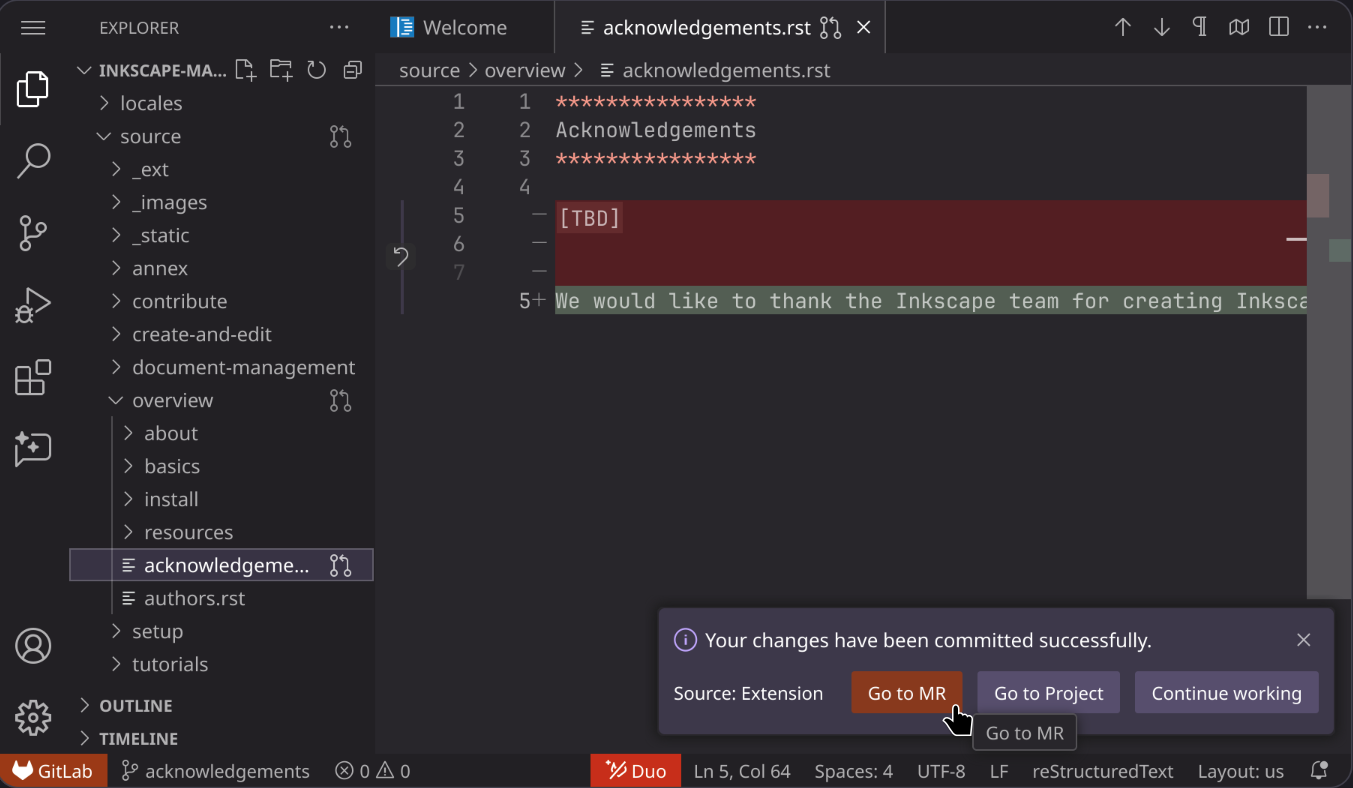
After you make the changes, switch to the Source Control tab, and click on the button Commit and push to <branch name>.
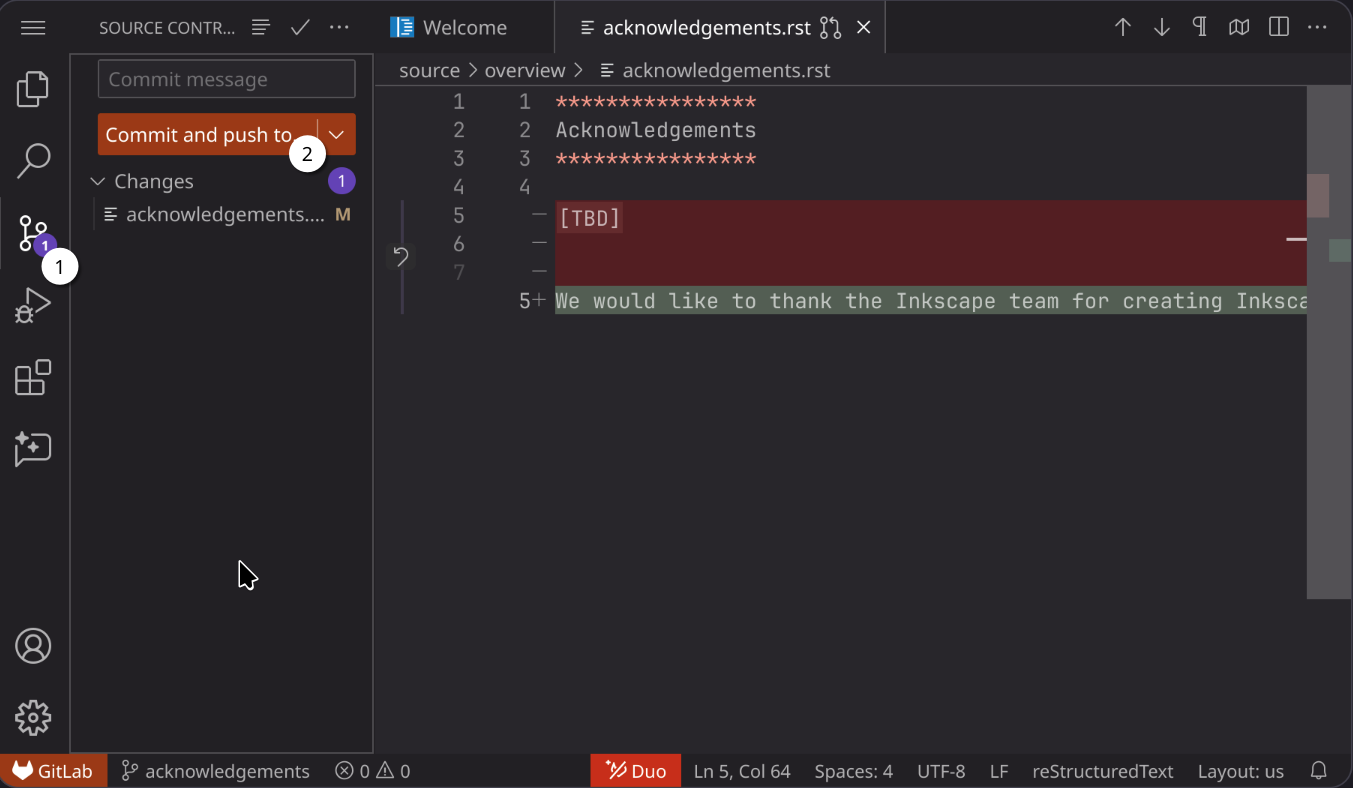
Commiting the changes you’ve made
Your merge request is now updated. You can click on the Go to MR button to view the changes.
The interface after commiting the changes