Guidelines
Guidelines, or just guides, are a feature of Inkscape which helps users to position or align objects precisely on the canvas. Typically they are used together with another feature, called snapping. (Learn details about snapping in the Snapping chapter.)
The image below shows three guidelines in their default colors. If the mouse is not hovering over the guide, it appears dark blue. If the mouse is hovering over the guide, it is light green. See the Configure Guidelines section below, to learn how to change the colors.
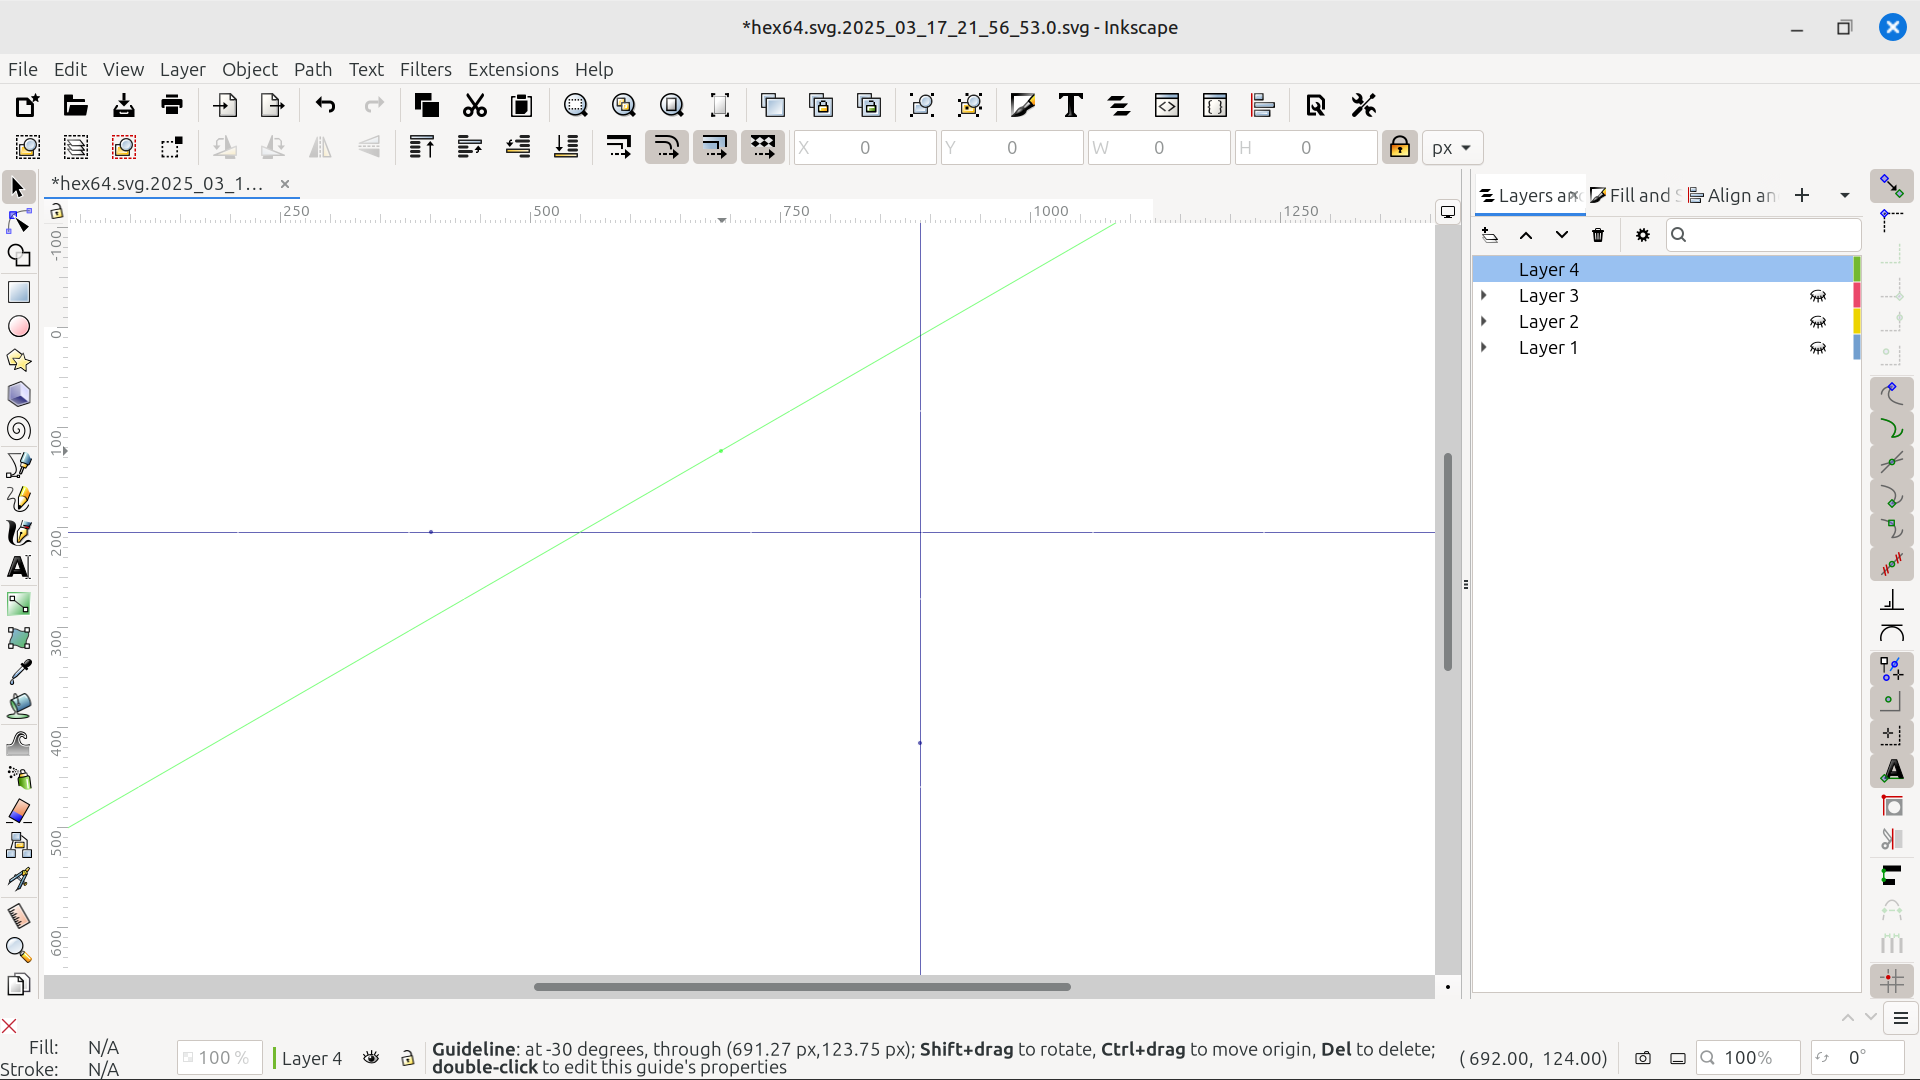
A screenshot of some guidelines
Todo
Use a screenshot tool that captures the mouse, so that the image will show a mouse hovering over one guideline. Make the mouse hover over the vertical guide. And also include the status bar, in the screenshot. See below.
As you can see in the image above, the position of the highlighted guide on the canvas, is documented in the status bar.
Create and Remove Guidelines
To create a horizontal or vertical guideline, position the mouse over one of the rulers. Press the mouse button and hold it down while you drag the mouse onto the canvas. You will see the guide appear as the mouse moves over the canvas. Release the mouse when it is close to the place where you want it. The video below shows what this looks like. We will learn how to fine tune the guide’s positon shortly.
There are three ways to create a diagonal guideline. One way is demonstrated at about the 0:18 seconds time stamp, in the video below. Position the mouse near one end of a ruler. Press the mouse button, and hold it down while you drag in a diagonal direction onto the canvas. Release the mouse when the guide is where you want it.
Todo
This video needs to show the mouse, and ideally it should be able to show when the mouse is clicked. Also it needs to show when keys are pressed.
The second technique is explained in the Configure Guidelines > Angle section below. And the third technique is explained in the Manipulate Guidelines section further below.
There are two ways to remove a guide. The video above also shows one of these techniques at about the 0:55 seconds time stamp. Grab the guideline with the mouse and drag it off the canvas. Release the mouse outside the canvas. The guideline will disappear when the mouse leaves the canvas. See the Configure Guidelines > Buttons-section to learn the second technique.
Configure Guidelines
There are two different locations where settings for guidelines can be configured, depending on which options you want to set.
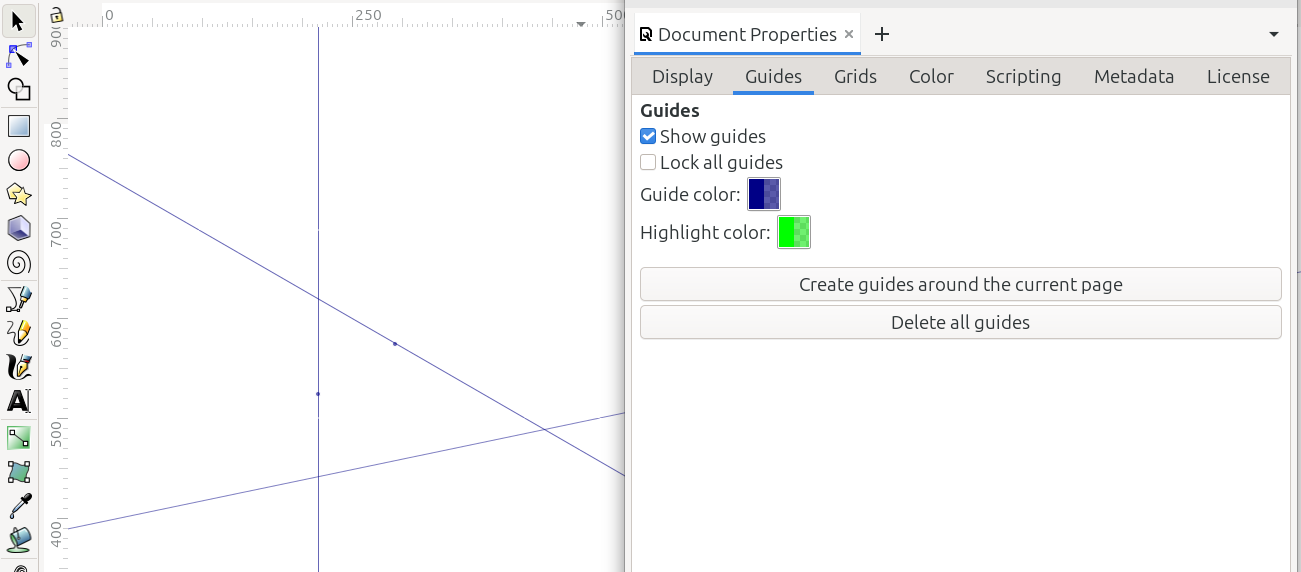
Document Properties
These settings affect all the guidelines thoughout the whole document.
The Guides tab in Document Properties dialog
Open File menu > Document Properties > Guides tab.
Show Guides: This checkbox makes guidelines visible on the canvas. If you cannot seem to make any guides show up, double-check that this option is enabled (checked).
Lock all guides: This checkbox locks all the guides in the document.
Guide color: If you would like guides to be a different color, click the color box, and follow the prompts to change the guide color.
Highlight color: This is the color of the guide when the mouse is hovering over it. Click the color box and follow the prompts, to change the highlight color.
Create guides around the current page: Click this bar to automatically place guides along the page borders, according to the page size created in Document Properties > Display tab.
Delete all guides: Click this bar to automatically delete all the guides in the document.
Guidelines dialog
Guidelines can also be designed individually. With the mouse hovering over a guide, double-click. This displays a small dialog where you can make changes to that specific guide.
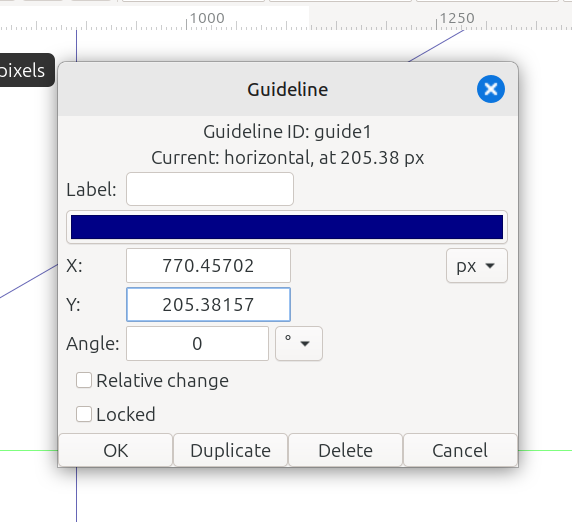
The Guideline dialog
Guideline ID
At the top of the Guideline dialog, there is a Guideline ID. Inkscape automatically assigns this ID number. It consists of “Guideline ID” followed by the number, which indicates the order in which the guides were created. It becomes part of the document’s XML data.
Label
The first option is Label. If you have several guides in the document, you might want to give them unique names. Although this is not required; they can be left blank.
Color
The next option that can be configured, looks in the screenshot like a dark blue horizontal bar. If the guide you clicked on is a different color, this bar will be that color. Click on the bar to open a dialog where you can change the color of this guideline.
Click one of the color blocks, to choose a pre-defined color. Or click the button with a plus sign (+) to create a custom color. Then click the Select button to confirm your choice.
Units
On the far right side of the next line, is the same Units dropdown menu, which is seen throughout Inkscape. Choose which units you want to use, to set the position of the guides precisely. Typically, you would use the same units that you are using throughout the document.
X, Y, and the Anchor Point
As you have probably noticed (see the image at the top of this chapter, A screenshot of some guidelines), there is a single tiny dot on each guideline. This is the anchor point, also called the guide origin.
Todo
(ltlnx, I’m not flexible on this particular “tiny”) Also, I’d like “anchor point” and “guide origin” above to be bolded. I’m not sure if the ‘term’ code will do that?
Referring to the screenshot of the Guidelines dialog, under the color bar are two number fields, labelled X and Y. If you have already positioned the guideline, these fields show you the precise X and Y values for the guide origin. Or you can use these fields to place the origin or the guide itself, in a precise location.
Angle
The next option is Angle. With this, you can set the angle for the guideline. It’s the second technique, mentioned earlier, for creating a diagonal guide. If you want units other than degrees (°) you can choose it from the dropdown menu to the right of the number field. Then set the value in the number field. Zero degrees (0°) is a perfectly horizontal line. A perfectly vertical line is 90°.
Relative change
This checkbox allows you to move or rotate the guide relative to the current state or settings.
Locked
This checkbox locks the guide in its current position.
Manipulate Guidelines
The video near the top of this chapter demonstrates how to manipulate guidelines, starting at approximately the 0:27 seconds time stamp. Position the mouse over a ruler, and click once to hide all the guides. Click once again to make them visible.
To rotate a guide around its anchor/origin, begin with the mouse hovering over the guide, so that it displays its highlight color. Press and hold the Shift key. The mouse pointer will change. Then press the mouse button and hold it down while you drag the guide. You will see it rotating around its anchor/origin.
Objects to Guides
In the Object menu, you can find the Objects to Guides command. This converts the outer edges of a selected object to guidelines.
Normally, after this conversion, the original object is automatically deleted. However, if you check the box Keep objects after conversion to guides in Edit menu > Preferences > Tools > Conversion to guides, the object will not be deleted.
As we know, groups are a type of object. And if we check the box Treat groups as a single object, the outer edges of a group can be converted to guides as well. (fyi - I submitted a bug/feature report to improve this language. So please double-check before putting it in the manual. https://gitlab.com/inkscape/inbox/-/issues/13108#note_3116852975)